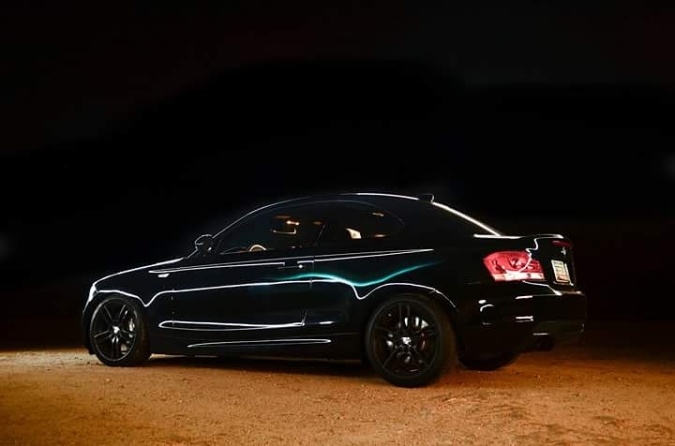
By: Aaron Fink
Since a great deal of my photography background relates to cars, I figured I could share a few of the tricks I’ve learned over the years photographing cars. There are a million things I could discuss about the things I’ve learned when working with cars as a photographic subject. One of the important aspects of photographing a car is capturing action, movement, and representing velocity.
Panning vs. Rolling


First of all, whats the difference? The both do the same thing, as in imply motion of the subject. They both do it the same way, by using a slower shutter to blur things in motion. So what makes them different? Well, the simple answer, is one is easier than the other, one looks better than the other, but they are both important skills to know if you want to shoot cars. A Panning shot is usually done by hand, or off a tripod, where as a rolling shot involves either using two moving cars, or a camera rig. In most cases you are trying to achieve the shot where the car, or moving subject is in sharp focus, and the road and background, and perhaps the wheels on the car will by blurred in motion. A panning shot can achieve this, but it can be difficult to get the entire car to be as sharp as the results you might see in a good rolling shot.
How it’s Done:
Panning:
We’ll start with the panning shot, because its easier to achieve, and require much less equipment. Your scene: Such as the road or track the car might be traveling on, should be close enough to you to emphasize the motion effect, yet far enough away that you can compose the car within your frame. The, or moving object should be driving past you as you view it from the side of the road. Camera settings: You are going to want to shoot in Manual mode for the best control, but you can also use Shutter Priority (S or Tv) mode to get some fairly good results. Keep your ISO low, unless you are shooting indoors or at night, a high ISO can cause a great deal of noise (HINT: When you find yourself having to work with a high ISO, it is sometimes better to Over-Expose the image one to two stops and bring the exposure down in post processing. Since noise is most prevalent in underexposed regions of an image, this can help reduce the amount of noise you will be trying to remove in Photoshop later.)
Your shutter speed needs to be slow enough to blur motion, and yet fast enough to prevent excessive camera shake. This depends on how far your subject is, and how fast they are going, as well as what type of lenses you use. If you are at a Race, and the car is a good long distance away from you, and you happen to be using a very long lens, your shutter speed might be as low as 1/15th of a sec. to achieve a good motion blur. The slower you shutter, and the longer your focal length is, the harder it will be to get a clean, sharp panning shot. You have to track the car with your camera lens as it passes, the better you match the speed of the moving car, the sharper it will be. Focus is one of the tricky parts of panning shots, if your camera has a subject continuous tracking focus mode, or a dynamic tracking mode, you may benefit from using it, though sometimes these mode get confused. You may also use Manual focus, you can set your focus for an exact spot the car will pass though, and be careful to compose the shot so you can take the picture just as the car passes that spot. A method I use, is just my single point focus mode, and I make sure that I take the picture just as my camera achieves focus. If you focus on the car, then take the picture a split second later, the car may have already passed out of focus.
You might find that you are struggling to keep the entire car in focus. This may be, because you are shooting in Shutter Priority (Tv, or S) Mode, or that the Aperture you selected in just too wide. If this is the case, you can either raise your ISO a little so your camera can achieve a smaller aperture, or you can aim to shoot one or two stop underexposed, so you can stop your aperture down, and maintain your low ISO to prevent noise.
Now if your out shooting you buddy’s car in an empty parking lot, it become much easier. The car does not have to move fast to look like it going fast in a picture, this is the beauty if these types of shots. Have the car pass by at a fairly slow speed, and as long as the car passed close enough to you, you can use 1/30th of a sec. or even faster shutter speeds, this will help keep the car sharp, but you will have to experiment.
Now the downside to panning, as you take more and more you start to find that even with the more careful focusing, and panning you still don’t get the car as sharp as you like.
This is when you move onto Rolling Shots.
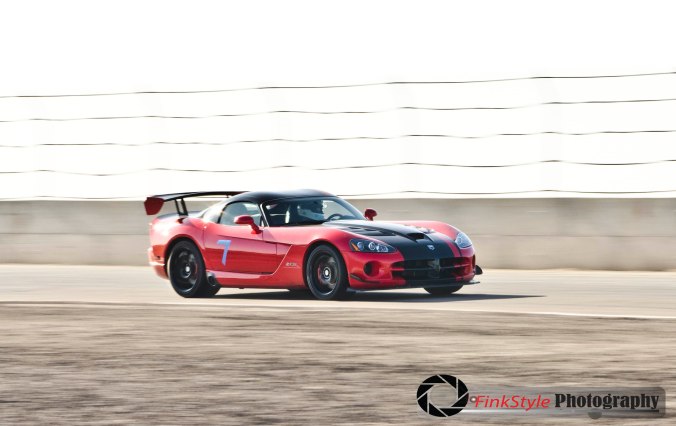
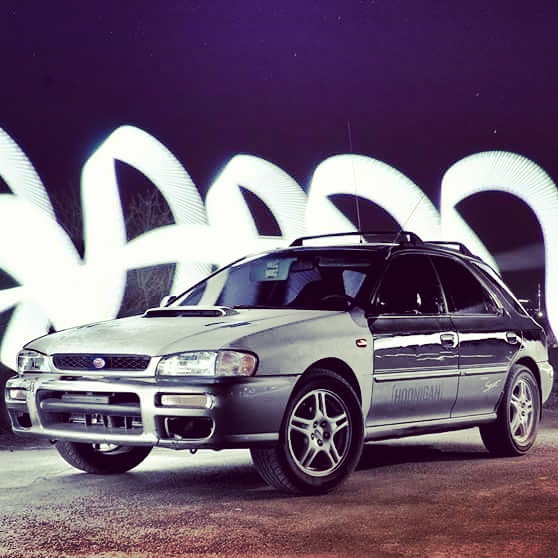
See these Panning Shots for Ideas:
Rolling:
The principles of a rolling shot is simple, and basically the same as the panning shot. The difference is, instead of the camera trying to track the car as it passes, it would be moving retaliative to the car the whole time. this means its much easier to better focus, and a very sharp picture of the car. There are two common ways to do this, either with a “rig”, or a camera car. So the easy way to do this (using common sense and extreme caution of course), is to use a Camera car that would pace the subject car at the same speed while you Shoot. Don’t be stupid and hang out the side of a car with the door open, you can shoot though the window just fine, or I like to shoot though the rear hatch of my car from the back seat. (Remember: Speed is not important, the lower your shutter speed, the faster it will look like you are going, this can easily be done at 15mph, in an empty lot.) If the Camera car is able to maintain a consistent speed to the subject car, the only thing you have to worry about is holding the camera steady, and reflections of the camera car on the Subject car.
A rig, is like a camera boom arm that somehow attaches to the subject car. For this, you no longer need a camera car, in face the photographer can even drive the subject car to achieve the shot they want. These Rigs can be expensive, and depending on the length, you may need a pretty wide angle lens to fit a car in your frame. But you can achieve a very low perspective rolling shot, and as long as the rig is mounted solid to the car, you will have almost no problem with camera shake, or focus. Rigs are not perfect, they are expensive, they can fall off or hit something destroying your gear, they limit your ability to compose the car in the frame, and you have to clone out the arm from the image so you don’t see it.
With rolling shots, you get the most control, if you wish to have more or less of subject in sharp focus, adjust your aperture. If you want them to look faster or slower, adjust your shutter speed.
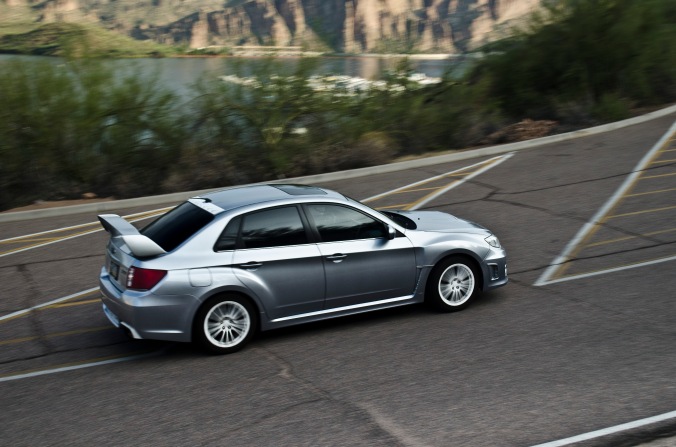
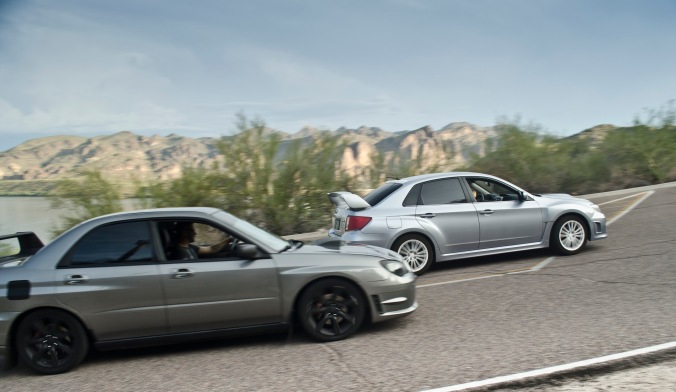
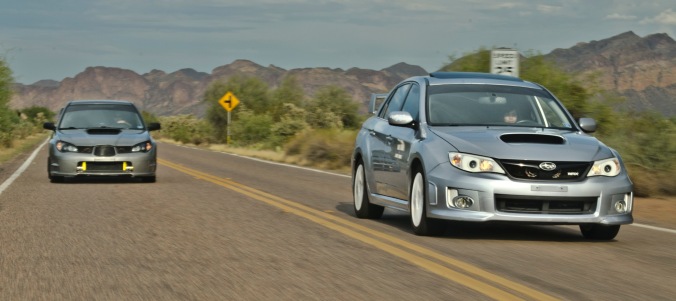
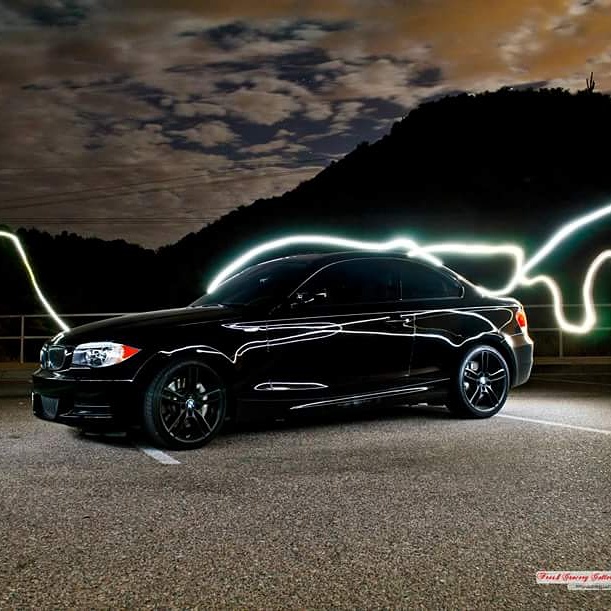
Here is a couple more Rolling shots you can use for ideas!
While your here, you should also check out my write up on light painting: https://artistsacrossamerica.wordpress.com/2016/09/07/light-painting-made-simple/
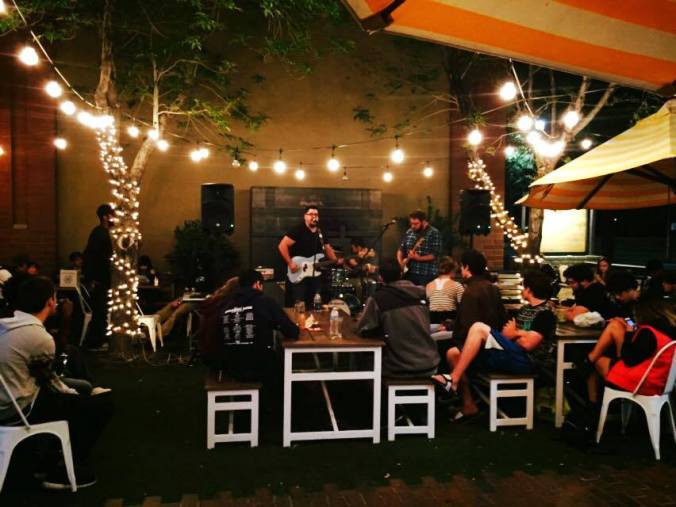

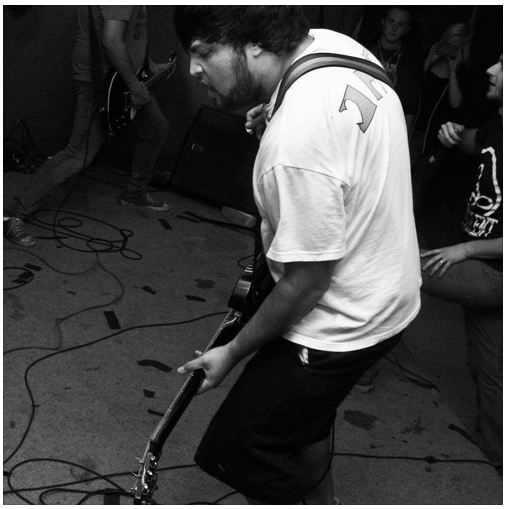


 Because coming up, is my Video interview with the the band Discovery of an Afterlife, you don’t want to miss this chance to get to know the band before everyone sees them perform live in October when then open for Soilwork. I ask them each a few questions about themselves, their life and their band. It will be worth checking out!